Monday, November 4, 2013

Sunsets and Moonset

A mishmash from the past week or so:

October 24. Interesting clouds over the bridge

October 25. Not the most coherent sunset, but pretty nonetheless.

October 26. Fog creeping in through the gate.

October 27

Also October 27. You can see the bridge faintly behind the beams (though maybe not at this picture quality?)

November 3. Just a hint of the bridge above the horizon and below the sunset.

November 4. Moderately successful night photography!

Sunday, October 27, 2013

Built-in Laundry Drying Rack

I was tired of setting up my old, broken drying rack and putting it away; I wanted something more convenient and more functional. I use the rack pretty much every time I do laundry, since I air-dry my heavy socks and any shirts/pants with technical wicking fabrics. Plus, after I started this blog, I got a lot of questions about what my next project was going to be. ;-) So I decided to build a drying rack for my laundry area.

Laundry area before drying rack

and another "before" view

I bought pine 1x2s at Home Depot and cut them to size with a miter saw. Considering I painted the whole damn thing anyway, I might choose mdf if I were to make this again...

I may not use the drill press all that much, but when I use it, it saves so much time and effort. These are holes for where the rack pieces will go. 

And here are the rack pieces, salvaged from my old drying rack. 

It was hard for me to figure out how to do the corner joints, considering the small stock size. I eventually ended up doing mitered corners with diagonal biscuits. 

I did dadoes for the middle element. This is a dry run to see how things shaped up. I painted the wooden elements before gluing them together, figuring it would be a total pain to paint around the rails. 

All painted, being glued up. The biscuits were wider than the wooden pieces, so I ended up chiseling off the excess and touching up the paint. With all my work with power tools, I've been pretty lucky not to injure myself; however, I totally gouged my hand with the chisel. Deep cut, had to lie down after dressing it.

The rack is in place! there are hinges on the bottom / back side, and the top is being held in place with those magnetic / spring catches you see on cabinets sometimes. It seemed like a great idea -- until the magnets stopped holding the rack up, and it completely bonked me on the head. I'm not sure why the magnets held the rack originally and then failed, but fail they did and they never held the rack up successfully again.

The rack, fully loaded. I like that I can hang hangers across the front, too; I used to hang those on my shower (which didn't have nearly as much real estate as this). This is as full as it would ever get: post-Utah laundry. It worked great! Easier to hang stuff on (no bending down to the floor or walking around the rack), and easier to remove stuff, too.

After the first drying load had been removed, there were still improvements to be done. You can see that the magnetic catches have been replaced with window sash locks -- much more reliable (if not as cool). Also, it may be hard to tell from this pic, but the support on this side of the rack is not very stable or attractive. So I replaced it with...

… a chain -- which I was planning to use for both sides originally. The other side worked better with a block, due to the distance from the wall. 

The chain when the rack is closed. 

Finished rack, with the mistakes all spackled and paint touched up, plus the block on the right has been painted to match the wall. 

and, finished rack in the open position

Wednesday, October 23, 2013

Sunset and Day Shots

Here's a sunset from October 16:


And a couple (somewhat hazy) daytime shots:

October 19: Albany hill pretending to be an island in the fog

October 20: Mt Tam, the fog, and the moon

Monday, October 21, 2013

Get out your 3D Glasses...

Not the ones that are used in 3D theaters these days, but old-school (red for the left eye, blue or cyan for the right eye). My Lumix point and shoot, which I got for the Leica lens, had this 3D photo feature on it, and I tried it out in Utah. You take the picture by holding down on the shutter and panning the camera from left to right for 10 cm. It then creates mpo files, which need to be separated into a left and right image (I did this by installing ExifTool and then using an automator script to extract the images). Finally, the left and right image need to be processed for red/blue 3D glasses.


Utah: Capitol Reef, Escalante, and Bryce

Last week, I went on a great REI trip to Capitol Reef and Escalante in Utah (with a brief stop at Bryce on the way back to Salt Lake City). It was a great trip, with extraordinary scenery. Here are a few of the 850 pics I took (yes, this is turning into a catchall blog. Such is life.): 

The view from our rooms at the Best Western near Capitol Reef. Not bad! 

The first two days, Capitol Reef was closed due to the government shutdown, so we couldn't hike there. This was taken driving through Capitol reef to get to our destination.

For the first part of Day 1 we went to Little Wild Horse Canyon, a great slot canyon.


Entrance to the next part of the slot


Same canyon, with me in it (thanks for the pic, Andrew!)

In the afternoon of Day 1, we went to Goblin Valley. Apparently part of Galaxy Quest was filmed there. 

Does it look like it's about to rain? The skies opened up shortly after this. A good thing we weren't in the slot canyon...
And driving back through Capitol Reef in the afternoon. 

Day 2, we went hiking on a mesa near Capitol Reef.


The ground was littered with petrified wood in this area -- some huge tree trunks, and lots of small pieces. Since this wasn't in the national park, we were allowed to take 25 lbs plus one piece of any size with us. I took a few small pieces.


And a non-petrified tree among the rocks.

This either looks like a bison looking up or a bear looking down. I favor the bear. ;-) 

View of the reef from our day 2 hike. Everything that's tilted up to the right in the background is the reef; the Henry Mountains are beyond that. 

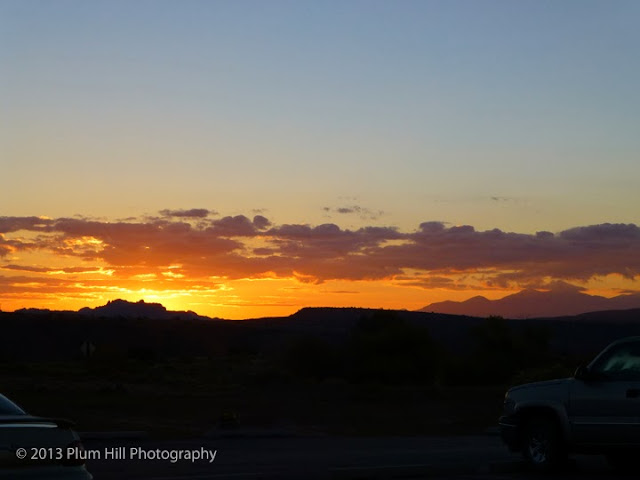
Sunrise on Day 3. The great state of Utah funded the national parks within their state starting on day 3, so we got to go into the reef that day. Not that I regretted Day 1 or 2 at all!


Experimenting with wide aperture/narrow focus. I learned a lot about photography from my fellow trip participants and guides. 


Driving over Boulder Mountain on day 3, from Capitol Reef to Escalante. The aspens were in full fall color, beautiful. 

In Escalante for Day 4. Simpsons-esque clouds!

 I can't say I loved hiking through the sand, but there were some beautiful patterns.

and tiny footprints! These are about the size of a quarter.


The lichen made raised patterns on the rock. 

Chimneying across a high section of this slot canyon

I love that this crevice looks like a heart from this perspective.

going down the rope ladder to the "pit of despair"

"Moqui Marbles" -- harder deposits in the rock that eventually pop out as small rounded stones.


These striations reminded me of bacon.


Last day: Hiking along an old milk road and the Escalante River. 

Aspens down here contrasted nicely with the colors of the rock.

This day involved a bunch of river crossings, and wading up a tributary to a spring that had great-tasting water, and wild mint to add to your water bottle. 

Cliff dwelling

Anasazi petroglyph

Another petroglyph. There was a lot of graffiti carved into the rock next to the petroglyphs, which was disheartening. But then again, the petroglyphs are just really old graffiti, right...?

A natural bridge over the river

People under the bridge, for scale

Muddy shoes!

The last day, at Bryce Canyon. It snowed before we got there!

Luckily the sun came out and added some nice light and blue sky

Shot of Bryce from the rim. See more of this view in the 3D photos of the next post...